tl;dr: Neighbors' galvanized fence is upside-down and very sharp and pokey. How can I make it not be?
To start with, the neighbor is almost never home and therefore hard to contact. Also, they only bought their property last year and probably don't even realize they own the fence. Anyway.
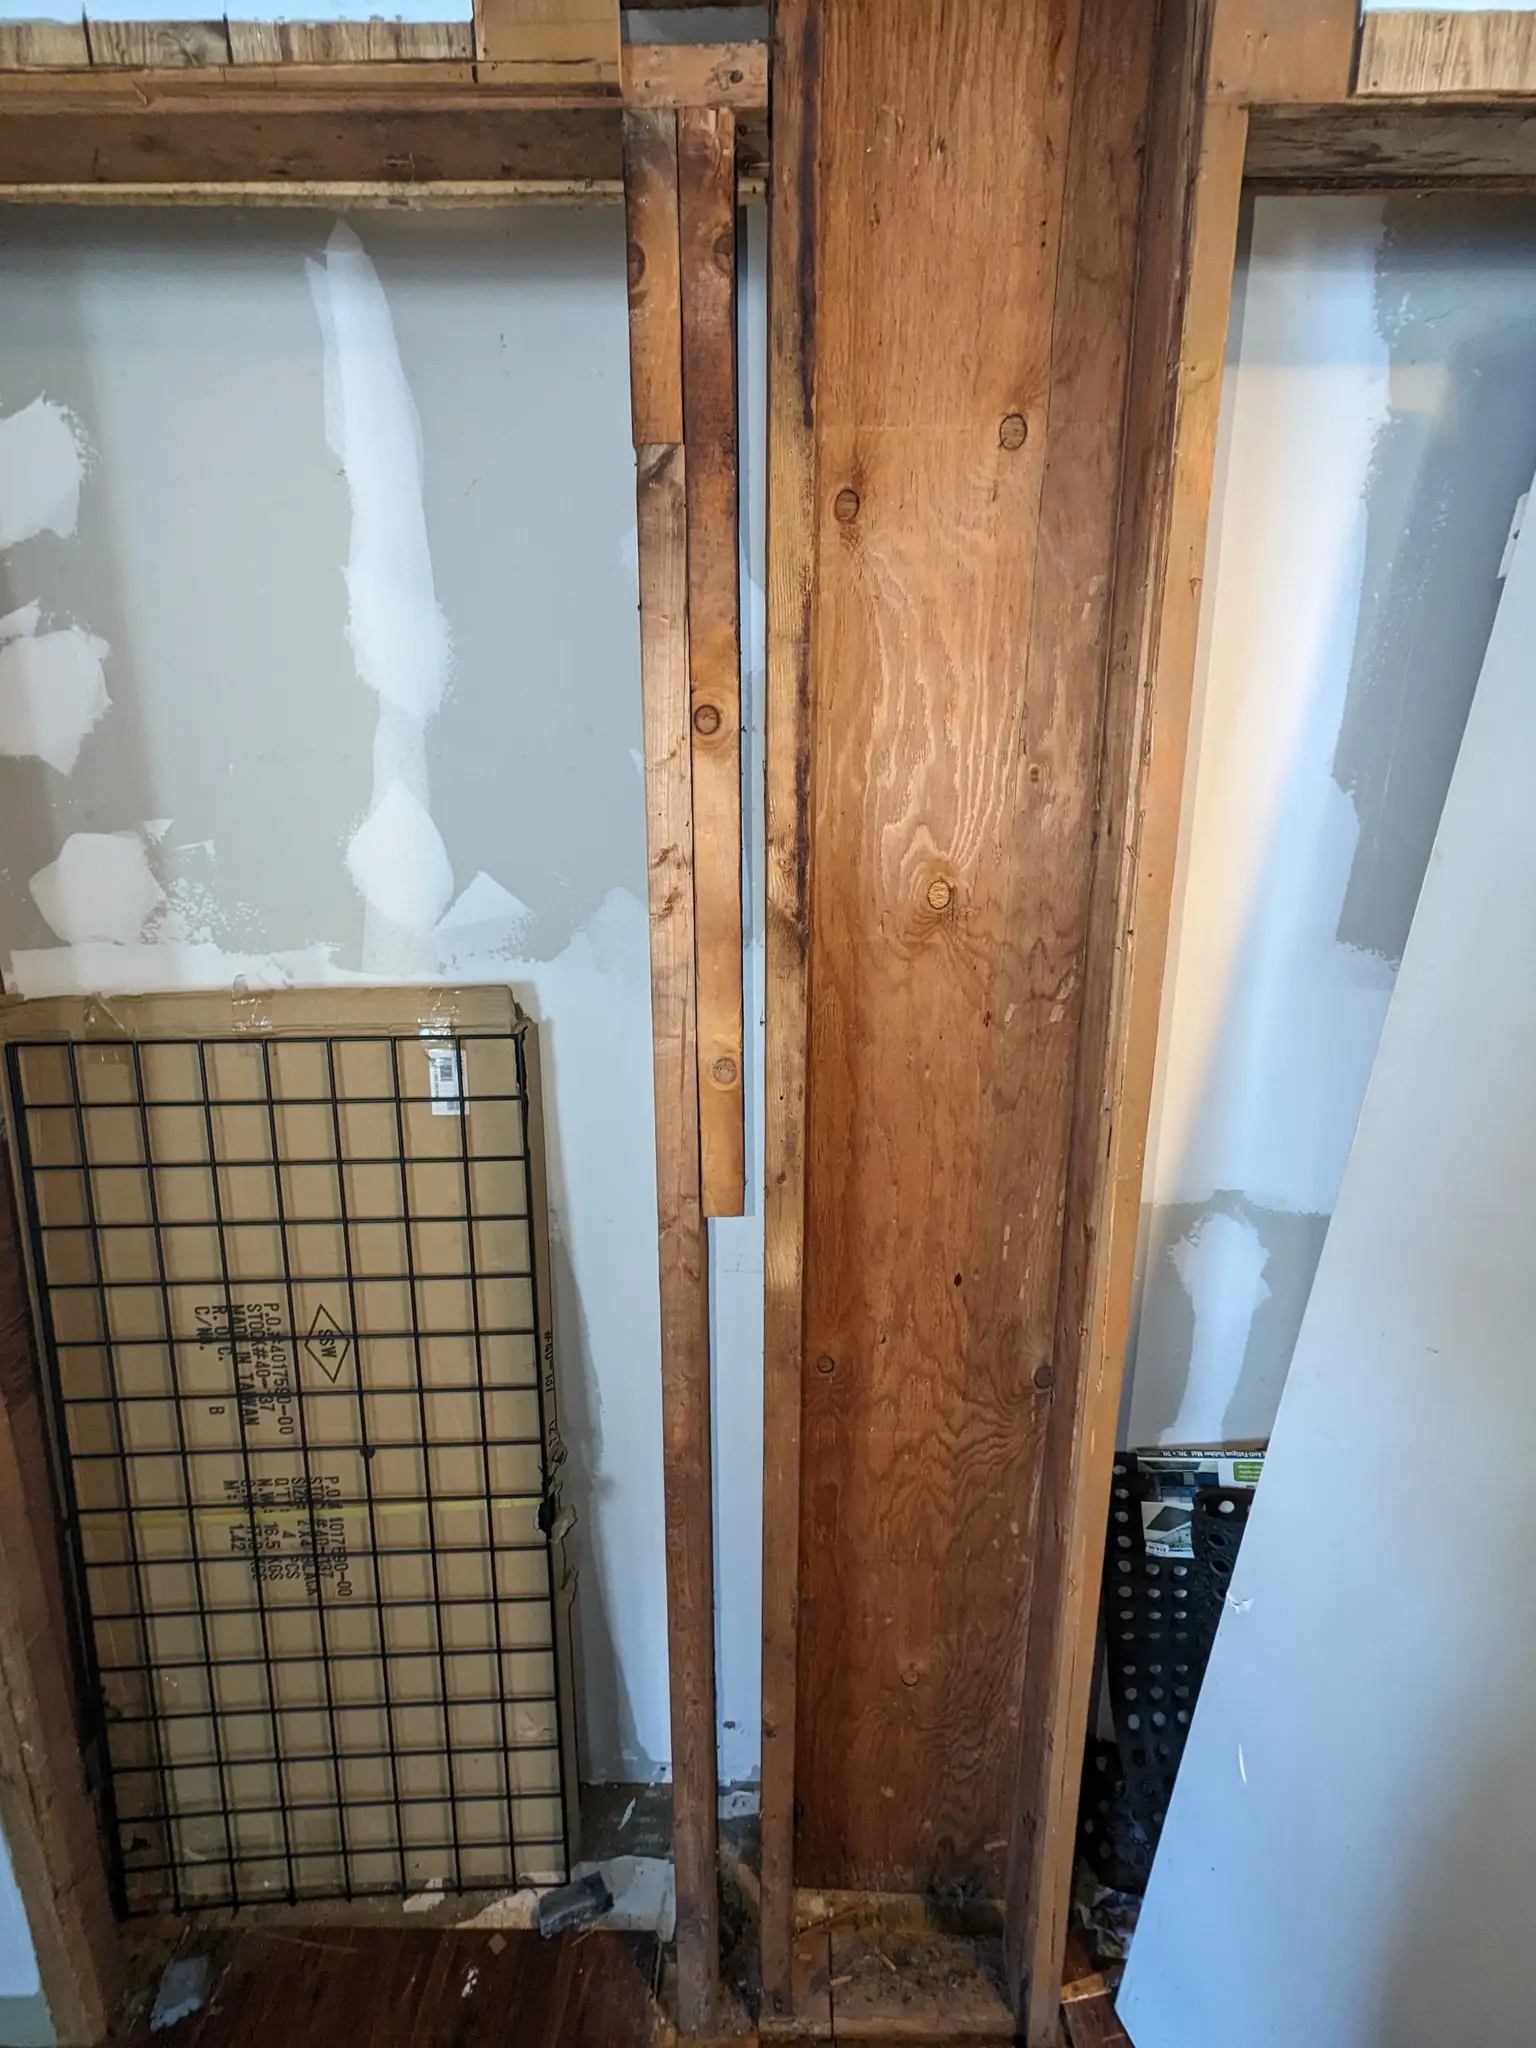
As you may know, galvanized fences have a top and a bottom. The bottom has sharp bits which dig into the ground while the top is more rounded off.
When I bought my house, there was already a galvanized fence in place between my house and my neighbor's. I'm no fan of these fences in particular, but that's fine. Except that I later noticed that it had been installed upside-down, meaning that the top of the 3-ftish fence is covered in sharp spikes, while the safe end has been buried underground.
When I was younger, I had a dog who had her belly horrifically torn open while jumping over an upside-down galvanized fence, and I have two dogs, so this is a serious concern of mine. While my dogs have fortunately never tried so far, a dog could die trying to jump over a fence like that.
Question is, what can I do about it?
I would offer the neighbor for me to pay for it to replace the fence, except for the fact that we are on a serious and convoluted grade and it is no small matter to replace a fence. Because of the grade, there's no way for me to put up a second fence on my side (trust me, it would require some serious landscaping to do that, in the tens of thousands of dollars--we're on a hill).
So I feel at a loss except for to try to cap off the sharp tops of the galvanized fence, and my searching suggests that there is no pre-made product for this because this fence was just installed wrong.
Any advice?


